Last Updated on September 29, 2022
Radiator hoses convey engine coolant to and from the radiator. The upper hose carries hot coolant from the engine to the radiator. The lower hose carries the cooled fluid back to the water pump and then back into the engine. The water pump circulates this coolant continuously while the engine is running.
These hoses are designed to remain flexible across a temperature range from about -30 degrees to 250 degrees F. For racing applications, high performance hoses can provide an even wider temperature capability.
Hose construction typically includes a layer of aramid, polyester or Nomex fibers to help the hose endure pressure. Hoses on today’s cars can last well over 100,000 miles, sometimes enduring to twice that value.
Hoses, both upper and lower, may contain an internal coil spring to help minimize risk of hose collapse. However, a radiator hose collapse can occur under certain conditions and left unchecked, it can cause severe engine damage. Fortunately, the fix is usually both cheap and easy.
What is a “Collapsed” Radiator Hose?
A collapsed radiator hose looks like a long skinny flat tire. Very noticeable. One or both hoses may go flat if the cooling system experiences a localized or complete vacuum (negative pressure) condition.
Why has My Radiator Hose Collapsed?
There are two possible reasons for a collapsed radiator hose:
- Reason 1 – A vacuum inside the coolant system will cause one or both radiator hoses to collapse. This negative pressure will occur when the engine has been shut off and the normal return flow of coolant from the expansion tank is blocked. This vacuum problem may be caused by #1 and #2 below.
- Reason 2 – Restricted flow through the radiator (a clogged radiator) can cause the lower radiator hose to collapse. See cause #3 below.
#1 – Faulty Radiator Cap
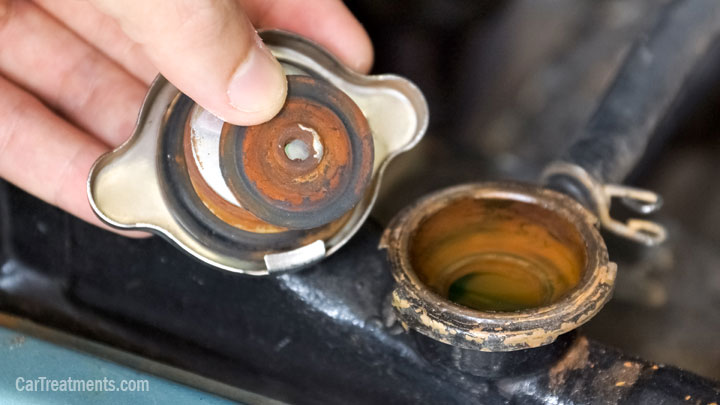
The first and most common cause of a collapsed radiator hose is an inoperative one way valve in the radiator cap. This can occur due to age or due to contamination of the radiator cap by deposits. Follow these steps if you notice a collapsed hose, either top and/or bottom.
- With a cool engine, remove the radiator cap.
- If upon removing the cap the hose (or hoses) quickly return to normal size the problem is either the radiator cap or a blocked vent hose.
- Examine the cap. If it is coated with gummy deposits it may be possible to clean it. Using dishwashing detergent and a soft toothbrush, clean away all deposits. Rinse the cap thoroughly. Wipe any deposits from the mating surfaces on the radiator (or expansion tank) with a clean shop towel.
- Reinstall the cap.
- Start the car, warm the engine, and allow it to run until antifreeze flows into the expansion tank. A short drive can speed up this process. Shut off the engine and after it cools down confirm that the hose(s) no longer are collapsing.
- If hose collapsing still occurs, replacement of the defective cap may be required. New cap prices range from about $8 to $25 at your local or online auto parts store.
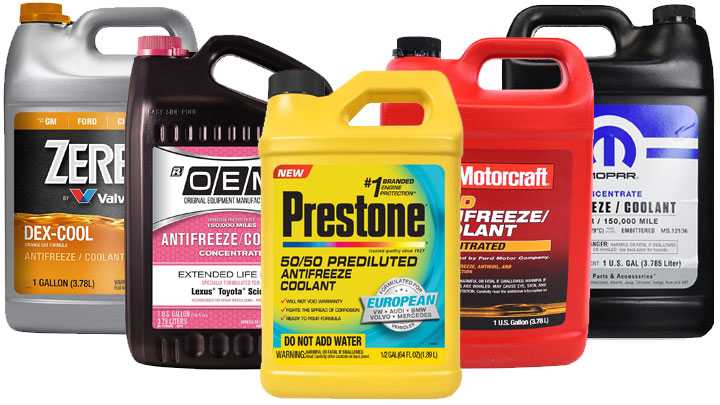
Both Dex-Cool and Stop Leak deposits have a tendency to build up in the radiator cap mechanism. If with a collapsed hose you remove the radiator cap (when the engine is cool), and it is gummed up, one or both of these products may be the cause. Either follow the cleaning steps above or replace the cap.
When using Dex-Cool or Stop Leak, checking the radiator cap for deposits at each oil change and cleaning it as necessary is recommended.
#2 – Blocked Expansion Tank Hose
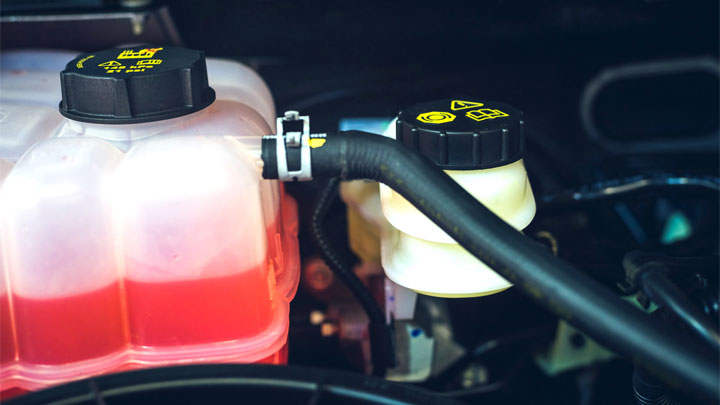
While a blocked vent hose is a relatively uncommon event, if it happens, it can prevent air flow back into the expansion tank as the engine cools. This will mimic the problem that occurs with a gummed up radiator cap.
As with a faulty radiator cap, follow these steps:
- After allowing the engine to cool down, remove the radiator cap.
- Observe the collapsed hose(s). They should return to normal size.
- Examine the cap. If it is free of deposits, the problem is likely to be a blocked vent hose.
- To check for a blocked hose, detach the vent hose from the fitting on the expansion tank. Do this carefully because expansion tanks are generally plastic, and you don’t want to break this hose fitting.
- Insert a clean plastic drinking straw into the end of this hose. (A stiff plastic reusable child’s straw will work best.) Blow through this straw. Any restriction will be evident.
- Generally, the vent hose will be routed downward through several clamps and end below the engine. Remove this hose from its retaining clamps and using your garden hose, thoroughly rinse out any particulate matter that may be the cause of blockage. A length of stiff wire can be helpful to probe the hose if a blockage is persistent.
- Reinstall the hose through its retaining clamps and reconnect it to the fitting on the expansion tank.
- Perform the engine warm up/cool down process described in step 5 of the “#1 – Faulty Radiator Cap” cause above. If the coolant hoses no longer collapse during this test, you have corrected the problem.
See Also: How a Coolant Overflow Tank Works
#3 – Clogged Radiator (Lower Hose Collapse)
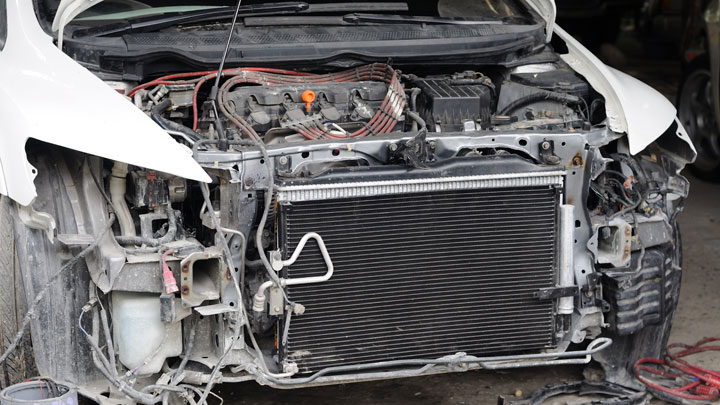
Restricted flow through the radiator can result in the collapse of the lower radiator hose. This condition would be noticed while driving.
Your first warning will be a rising temperature beyond normal on your engine temperature gauge. Alternatively, a warning light indicating overheating may come on.
When symptoms of engine overheating occur, follow these steps to assess the possibility of a collapsed lower hose:
- Stop the car, place the transmission in Park (automatic transmission) or Neutral (manual transmission) and firmly set the emergency brake. Allow the engine to idle.
- Open the hood and observe the lower hose. Be careful to keep your hands out of that area.
- If the hose appears to be normal in size, have an associate gently press the gas pedal to gradually increase the engine speed. As the water pump speed increases with restricted flow through the radiator, the hose collapses on acceleration.
- If the hose collapses, you’ve discovered a problem that will need immediate attention. Follow these next steps:
- Allow the engine to continue to run at idle or slightly above idle but not fast enough to flatten the lower hose. Engine temperature should gradually return to normal.
- Once it has cooled, proceed slowly to your favorite repair shop for corrective action. If overheating reoccurs, you may have to call for a tow.
Read Also: How to Flush Your Radiator
Checking Your Radiator Hoses

At every oil change, you should evaluate the condition of your radiator hoses. The engine must be turned off and cool to do this. Never use your hands to check the hoses with the engine running as this poses risk of severe injury.
Should I be Able to Squeeze the Radiator Hoses?
Yes, with the engine off and cooled down, the hoses should be soft enough to squeeze. Hoses in good condition should be flexible to finger pressure but not squishy or spongy feeling. Aging hoses will be hard and brittle.
Both hoses should be of uniform diameter with no noticeable bulges or cracks. Squishy, brittle, bulging or cracked hoses are candidates for immediate replacement.
Should Both Radiator Hoses be Hot?
After a drive of as little as five miles, the upper hose will be quite hot as it will be carrying coolant directly from the engine. If the radiator is doing its job, the bottom hose will be warm to the touch as it’s conveying cooler fluid back to the engine.
But if the lower hose is cold to the touch after the engine has warmed up, you likely have a problem.
Can a Collapsed Radiator Hose Cause Overheating?
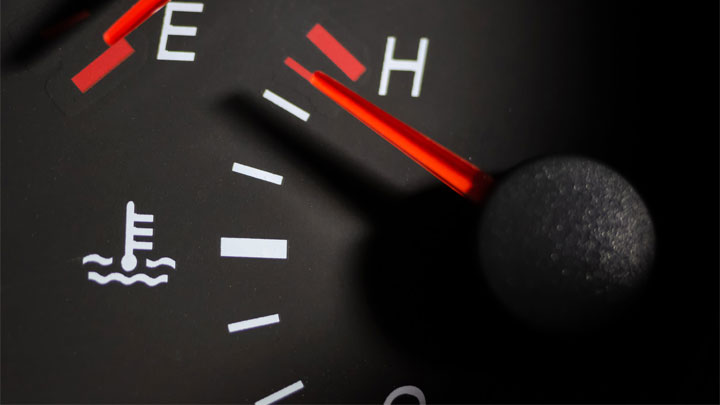
Yes, a collapsed hose can cause overheating. If you are driving when a hose goes flat, coolant flow will be restricted. Your instrument panel will give you an elevated temperature indication and/or an overheating warning light.
You must pull to the side of the road and shut off the engine as quickly as possible. Continuing to drive with an overheated condition can cause severe engine damage.
It’s worth noting that engine overheating problems may derive from several other causes besides a collapsed hose.
What is the Function of the Radiator Cap?
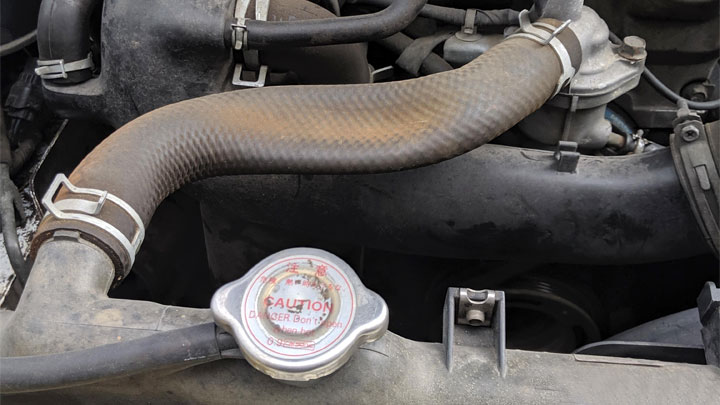
The radiator cap closes your cooling system but enables coolant to flow to and from the expansion tank (radiator coolant overflow tank).
Further information regarding how the radiator cap works and related potential problems can be found here: 6 Symptoms of a Bad Radiator Cap (and When to Replace)
Radiator Hose Replacement Cost
Best places to order parts? See: 19 Best Online Auto Parts Stores
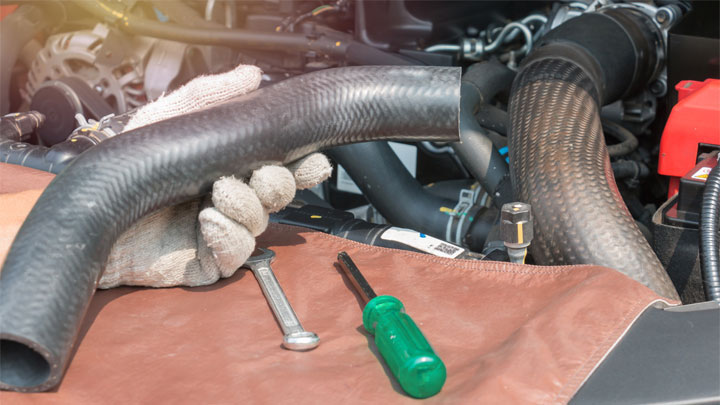
The cost to replace both upper and lower radiator hoses at your auto repair shop can range from $80 to over $500. This cost will depend on the make and model of your car. Replacement costs at your dealer may run slightly higher.


Radiator coolant gets low and check engine light comes on and engine misfires, Po300 code. Fill over flow tank and check engine light goes off and car runs great. I’ve driven it three times 15-20 miles trips and fluid level fine. No check engine light.
Have you figured out where the coolant is going? I’m wondering if it could be a head gasket or intake manifold gasket leak. That would mean you’re burning the coolant which can often cause misfires.
I agree, however engine normally will not return to good running condition just by filling back to normal line on coolant, It actually should be the opposite. when coolant is low a vast amount cannot now enter cylinders via failed HG meaning it should run better when low however slightly higher temps would occur due to low coolant. intake manifold does seem more likely.
Good ideas noted from the cooling system.