Last Updated on January 5, 2022
The brake (or stop) lights are part of the rear light installation on your car, truck, or SUV. Brake lights began to appear on automobiles around 1905. Drivers then were using hand signals to indicate to cars behind that they were about to stop or turn. Hand signals remain in vogue today for bicyclists and some motorcyclists but rarely for cars.
As more builders added the brake light (or lights) to the rear of their cars, a requirement was established in 1928 in 11 states in the US for all cars to have such a warning light.
This was a response to increased nighttime automobile traffic coupled with a proportionate increase in tail end collisions. Several years passed before brake lights became the law across the United States.
In 1974, the so-called high or third brake light became a requirement for all cars. The higher location made this warning light more visible to drivers behind helping to additionally reduce risk of rear end collisions.
The importance of the brake light system cannot be over emphasized. For this reason, understanding how this lighting works, how to confirm its operation and failure modes will be a benefit for your driving safety.
On occasion, your brake light system will suffer a malfunction in which the brake lights won’t turn off. Keep reading to understand the common causes of this issue.
See Also: Tail Lights Don’t Work (But Brake Lights Do)
How Brake Lights Work
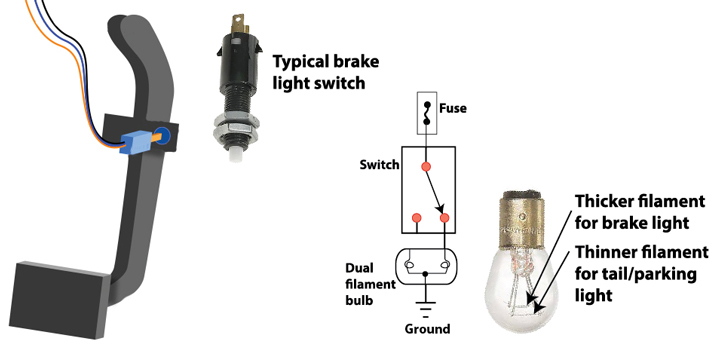
It should be obvious that whenever you press the brake pedal, the rear brake lights illuminate on your car. This proper functionality occurs even if the engine is not running, and the ignition is turned off. But what makes this happen?
On most cars a switch (the brake light switch) is located beneath the dashboard on the driver’s side. This switch is more like a push button. Its button (or plunger) contacts a portion of the brake pedal lever.
When you press the brake, this lever moves forward and allows this plunger to extend. The plunger then actuates the switch contacts sending an electrical signal to the car’s brake light system, and the lights turn on. Simple, right?
Older cars built in the United States before 2006 used this switch to directly control the electrical power to the brake lights. The wiring to those brake lights ran right through this switch. Very much like the wall switch and ceiling light in your kitchen. That was simple. But not so today.
Today’s cars use a computerized system called the Controller Area Network (CAN) Bus system to operate many internal systems including the exterior car lighting. This system helps reduce the quantity of wiring throughout the car and enhances control and fault checking of systems that use computerized controllers like the ECU (Engine Control Unit).
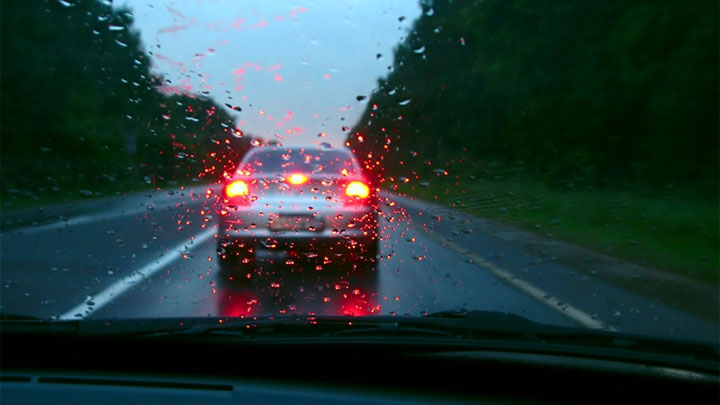
The CAN Bus system also controls the brake lights. Pushing the brake pedal sends an encoded signal via this system to a control module. This module then sends power to these lights and they come on. One big benefit to this system is that a failed brake light bulb can be detected.
When a bulb fails, either a warning light or graphic display will appear in your instrument panel. Not only can you see that a light is not working, but a graphic display, if present, will often show the location of that failed bulb.
On most cars, this failure will set a Diagnostic Trouble Code (DTC). This code can be read by an OBD2 code reader and will indicate the nature of the electrical failure experienced.
See Also: How HID, LED, and Laser Headlights Work
Reasons Your Brake Lights Won’t Turn Off (While Driving)
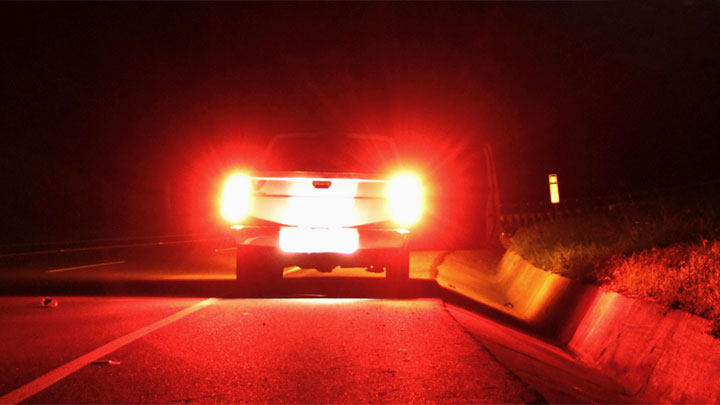
This can occur while you are driving. The most annoying aspect of this is that you won’t know they are on. Here are some causes of this particular malfunction:
#1 – Bad Brake Light Switch
The brake light switch at the brake pedal lever can be faulty. Though it appears to move properly when you press the pedal, it won’t shut off the electrical signal that illuminates the brake lights.
This is an uncommon failure because auto manufacturers design this particular switch to be ultra reliable. But nevertheless, it can still fail and cause your brake lights to be on continually. Replacing the switch is fairly easy as long as your body is flexible enough to reach it. Otherwise, see your mechanic for replacement.
On some cars, the brake light switch plunger contacts a plastic or rubber bumper on the brake pedal lever. This bumper can fail, fall off or break apart. With no bumper, the switch plunger will extend, illuminating the brake lights.
If your brake lights will not turn off, and you find small plastic (or rubber) bits below your feet, the problem may be this failed bumper. Contact your mechanic for repair. This problem is common on several models of Honda, Hyundai and Mazda.
See Also: 3 Bad Turn Signal Relay Symptoms
#2 – Riding the Brakes
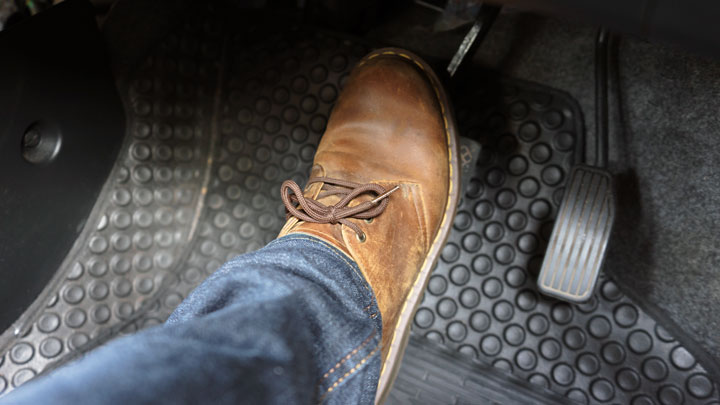
This problem is very common. While driving along you rest your left foot lightly on the brake pedal. Yes, by doing this your foot is ready to apply the brakes. Not a bad idea. But keep in mind that virtually any pressure moving that pedal a fraction of an inch will activate the brake lights.
If your car has automatic transmission, and you commonly brake with your left foot, you must be absolutely certain that you do not rest that foot on or even touch the brake pedal.
See Also: Driving With Both Feet? (You’re Doing it Wrong)
#3 – CAN Bus System Malfunction
The CAN Bus system can fail. This may either be a hardware or software problem and can only be diagnosed and corrected by a qualified mechanic.
Reasons Your Brake Lights Won’t Turn Off (When the Car is Off)
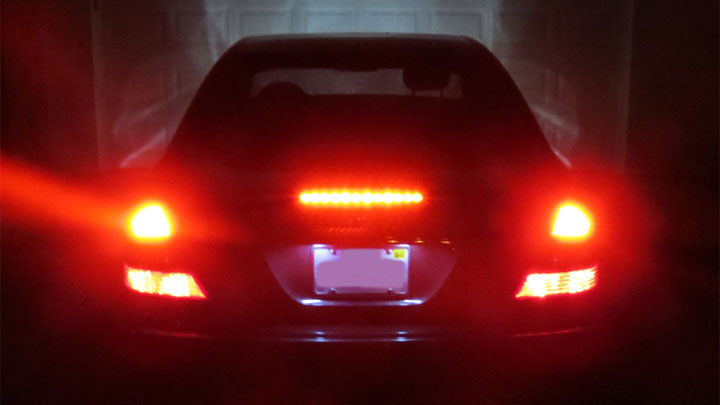
Your brake lights are operable even if the engine and ignition are turned off. So here’s the situation: You shut off the engine and hop out of the car, walk around the back and the brake lights are on. How is this possible?
Review failure modes 2 and 3 in the section above. These conditions which will cause the lights to be on while driving are ones that will leave them on when you shut everything down.
How to Check Brake Lights for Proper Operation
Several methods can be used to check brake light operation. And while you may want to just trust your clever instrument panel to do the work for you, there is nothing like seeing brake light behavior for yourself. Here are some easy ways to do this:
#1 – Use a Helper
Obviously the easiest way to test your brake lights, have a friend, family member, neighbor, or passenger either press the brake pedal while you watch or check the lights while you do the footwork.
#2 – Store Front Window Reflection
When away from home, find a shopping center which has parking directly in front of a store. You can use the store front window as a mirror. If car and foot traffic permits, back your car into a parking spot in front of a glass window panel.
Now look in the rear view mirror and apply the brakes. If all is well you should see all the brake lights turn on. You can check your rear turn signals and rear emergency flashers, too.
Repeat this with the engine and ignition off. Note any locations with no light operation for future corrective action. With ignition off, the turn signals will not operate.
See Also: How to Fix Turn Signals That Blink Too Fast
#3 – Garage Door
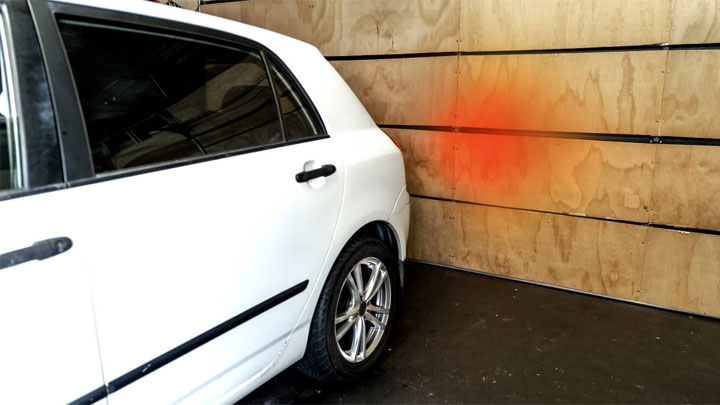
If at home, pull your car into the garage and close the garage door behind you. In a dark garage, you’ll be able to see through your rearview or side mirrors if your brake lights are shining on the garage door when you press on the brake pedal.
You can also use this method in a covered parking garage away from home. Simply back into your parking space and check your review mirror for brake light operation while you apply the brakes.
#4 – DIY Tool
If at home and you don’t have a helper handy or access to a garage, you can make a tool to press and hold down the brake pedal. Here’s how to make one:
- Open the driver side door. With your left hand press the brake pedal down about an inch. Measure the distance from the pedal to the front of the driver’s seat. It will be about 18 to 22 inches depending on seat position.
- Cut a length of 1” x 2” trim board or an old broom handle to this length.
- Press down the pedal with this tool and wedge the rear end of the tool against the driver’s seat. The brake lights will now be ready for you to walk back there and check them. Remarkably, a simple snow brush is just about the right length to do this job.
What To Do If a Brake Light is Out
If you have one brake light that is not operating, the most logical failure mode is a burned out bulb. The bulb may be a conventional design with a filament or may be an LED (Light Emitting Diode) specially designed for the CAN Bus system if your car is so equipped.
Replacement by a qualified mechanic is recommended but a good service manual will have instructions on replacing the bulb yourself.
A less likely failure could be a blown fuse. Check the fuse box either under the hood or beneath the dash, generally on the passenger’s side. Your owner’s manual will show the location of the fuse panel and should identify which fuse powers the brake lights.
A blown fuse must be replaced with one of the same color and amperage rating shown on the top of the old fuse. Replacement fuses may be purchased at an auto parts or quality hardware store.
If the new fuse blows the first time you apply the brakes, the fault is somewhere in the wiring. Do not repeat this exercise as an uncorrected short circuit can cause other electrical system damage.
If more than one brake light bulb is not operating, the more likely failure will be in the electrical and/or the CAN Bus system. See a qualified mechanic for corrective action.

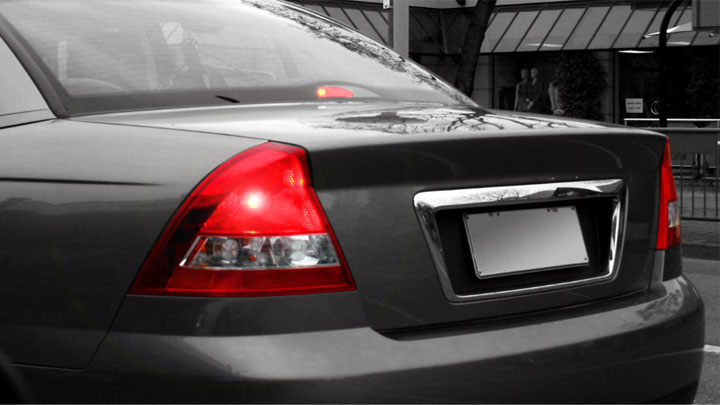

Having trouble diagnosing the passenger brake light and brake light on back window staying on after shutting the car off. Its a 2004 Chrysler Concorde. The battery is dead because of this problem.
What have you tried so far?
Your best bet is probably going to be taking the car to a shop and paying a small amount for them to do some electrical diagnostics.